
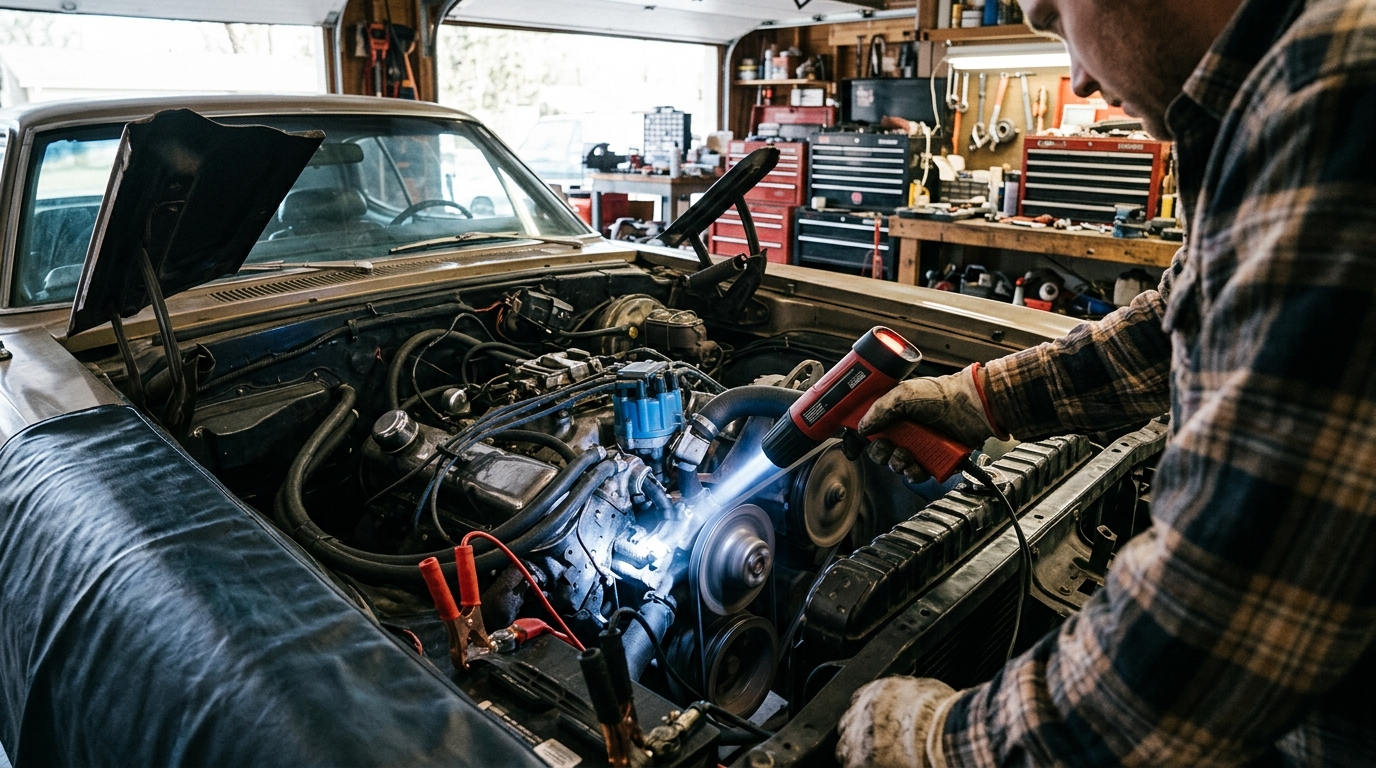
Unlock the secrets of precision and efficiency in your vehicle maintenance routine with the powerful tool known as a timing light. By mastering the art of timing adjustment, you can boost your engine’s performance, increase fuel efficiency, and prolong the lifespan of your vehicle. In this guide, we will walk you through the step-by-step process of using a timing light like a pro, empowering you to take control of your car’s performance like never before.
Benefits of Using a Timing Light
A timing light is a crucial tool for any automotive enthusiast or mechanic. One of the key benefits of using a timing light is its ability to accurately measure the ignition timing of an engine. By precisely timing the spark plug firing in relation to the piston position, you can ensure optimal engine performance and fuel efficiency. This is especially important for high-performance engines where timing adjustments can significantly impact horsepower and torque output.
Another advantage of using a timing light is its diagnostic capability. By observing the timing marks and the strobe flash while the engine is running, you can identify issues such as incorrect ignition timing, misfiring, or engine knocking. This helps in troubleshooting problems and making necessary adjustments to improve overall engine health and performance.
Types of Timing Lights
Inductive Timing Lights: Inductive timing lights are the most common type used by DIYers and professionals alike. They work by clamping onto the spark plug wire and detecting the electrical pulses as the spark plug fires. This type of timing light is straightforward to use and provides accurate timing readings.
Advance Timing Lights: Advance timing lights are more advanced and offer additional features compared to inductive timing lights. They can measure the advance timing of the ignition system and provide more detailed information about the engine’s performance. These timing lights are typically used by experienced mechanics and enthusiasts who require precise timing adjustments.

Step-by-Step Guide on How to Use a Timing Light
Step 1: Connect the timing light to the vehicle’s battery following the manufacturer’s instructions. Ensure a secure connection to avoid any accidents or malfunctions.
Step 2: Start the engine and let it warm up to operating temperature. Make sure the vehicle is in park or neutral and that all accessories are turned off.
Step 3: Locate the timing marks on the engine. They are typically found on the harmonic balancer or the flywheel. Clean the marks if necessary for better visibility.
Step 4: Point the timing light at the timing marks and pull the trigger to activate the light. The flashing light will illuminate the timing marks, allowing you to see the exact timing setting.
Step 5: Adjust the timing by loosening the distributor hold-down bolt and rotating the distributor until the timing mark aligns with the specified degree on the timing indicator.
Step 6: Tighten the distributor hold-down bolt and recheck the timing to ensure it is set correctly. Turn off the engine and disconnect the timing light once the timing is adjusted to the desired setting.
Common Mistakes to Avoid When Using a Timing Light
1. Incorrect Placement: One common mistake when using a timing light is placing the pickup on the wrong spark plug wire. It’s crucial to connect the timing light to the correct wire to get an accurate reading. Always refer to the vehicle’s manual or seek guidance to ensure proper placement.
2. Failing to Adjust Timing Correctly: Another mistake is not adjusting the timing correctly after using the timing light. It’s essential to follow the manufacturer’s specifications for timing adjustment to prevent engine performance issues. Double-check the timing after making adjustments to ensure it’s within the recommended range.
3. Ignoring Engine Operating Conditions: Neglecting to check the engine’s operating conditions before using the timing light can lead to inaccurate readings. Make sure the engine is at the correct temperature and running smoothly before checking the timing to get precise results. Avoid adjusting timing when the engine is not in optimal condition.
Tips for Maintaining Your Timing Light
Regular Cleaning: To ensure the accuracy and longevity of your timing light, it’s essential to clean it regularly. Dust, debris, and oil can accumulate on the light’s sensor or trigger, affecting its performance. Use a soft cloth or a gentle cleaning solution to wipe down the timing light after each use.
Proper Storage: Storing your timing light correctly can prevent damage and extend its lifespan. Keep it in a dry and cool place, away from direct sunlight or extreme temperatures. Avoid storing it with other tools that could scratch or dent the casing. Consider using a protective case or box to safeguard the timing light when not in use.
Conclusion: Importance of Proper Timing in Engine Performance
Timing is crucial for optimal engine performance. Proper timing ensures that the combustion process in the engine cylinders occurs precisely when it should, leading to efficient fuel consumption, maximum power output, and reduced emissions. Ignition timing, in particular, plays a critical role in determining the overall performance of an engine. Incorrect timing can result in poor fuel efficiency, loss of power, engine knock, and potential damage to internal components.
By using a timing light correctly and regularly maintaining it, you can ensure that your engine runs smoothly and efficiently. Monitoring and adjusting the timing of your engine is essential for maintaining its longevity and performance. Ignoring timing issues can lead to costly repairs and decreased engine efficiency over time. Therefore, investing time and effort into understanding and maintaining proper timing is vital for the overall health and performance of your vehicle’s engine.