
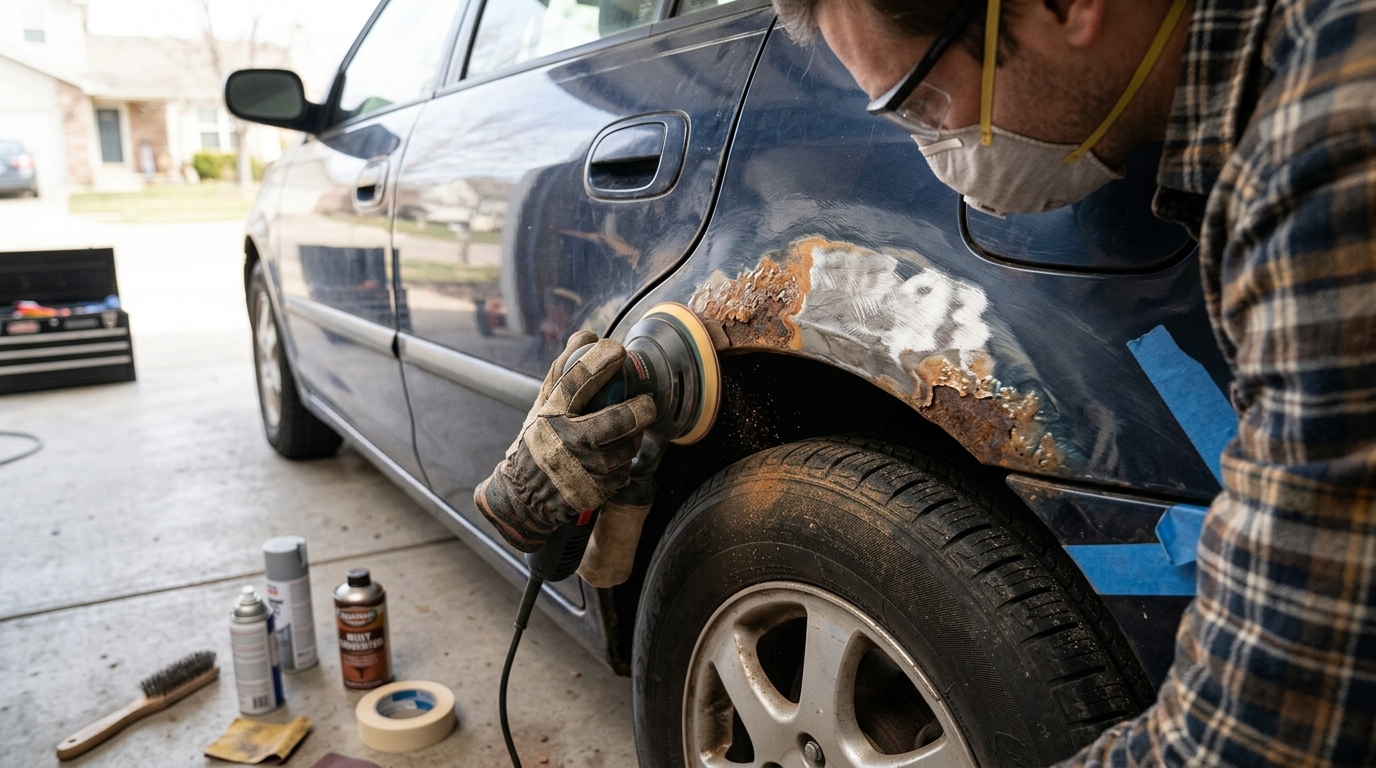
Rust can be a frustrating and unsightly problem for any car owner. Not only does it detract from the overall appearance of your vehicle, but it can also lead to serious structural issues if left untreated. In this guide, we will explore effective methods to remove rust from your car bodywork, restoring its shine and ensuring its longevity. Whether you’re a seasoned car enthusiast or a novice DIYer, these tips will help you tackle rust with confidence and get your car looking as good as new.
Tools and Materials Needed
Rust converter: A chemical solution that converts rust into a stable compound, preparing the surface for painting. Choose a high-quality rust converter for best results.
Wire brush or sandpaper: To remove loose rust and debris from the surface before applying the rust converter. Use a wire brush for larger areas and sandpaper for smaller, intricate areas.
Primer: An essential step to ensure proper adhesion of the paint to the surface. Choose a rust-inhibiting primer suitable for the material you are working on.
Paint: Select a high-quality paint suitable for the surface you are working on. Consider factors such as indoor or outdoor use, weather resistance, and desired finish.
Protective gear: Wear gloves, goggles, and a mask to protect yourself from chemicals, dust, and fumes during the process.
Cleaning the Surface
Before applying any rust converter or primer, it is crucial to thoroughly clean the surface of the metal to ensure proper adhesion of the coatings. Start by removing any loose rust, dirt, grease, or other contaminants using a wire brush, sandpaper, or a degreaser. It is important to wear appropriate personal protective equipment, such as gloves and a mask, when cleaning the surface to protect yourself from harmful chemicals and particles.
After removing the initial contaminants, wash the surface with a mild detergent and water to further clean and degrease it. Make sure to rinse the surface thoroughly and allow it to dry completely before proceeding with the application of the rust converter. Any remaining dirt or grease can compromise the effectiveness of the rust converter and primer, leading to poor adhesion and potential coating failure.

4. Applying Rust Converter
Rust converter is a crucial step in the process of restoring metal surfaces with rust damage. Rust converter works by chemically converting iron oxide (rust) into a more stable compound, creating a protective layer that prevents further corrosion. To apply rust converter, start by removing loose rust and debris from the surface using a wire brush or sandpaper. Next, use a clean cloth to wipe down the surface and ensure it is free of dust and oil.
Apply the rust converter according to the manufacturer’s instructions, typically by brushing or spraying it onto the affected areas. Allow the rust converter to dry completely before proceeding to the next steps. It’s important to apply the rust converter evenly and generously to ensure thorough coverage and effective rust conversion. Once the rust converter has dried, the surface will be ready for sanding and priming to prepare it for painting.
Sanding and Priming
Sanding: Before applying primer, it is crucial to sand the surface to create a smooth and even base for the paint. Use sandpaper with a grit appropriate for the surface you are working on. Sand in a consistent motion, going with the grain if applicable, to avoid leaving visible marks or scratches. Be sure to remove any loose paint, rust, or debris before proceeding with the primer.
Priming: Once the surface is sanded and cleaned, it is time to apply a primer. Primer helps the paint adhere better to the surface, improves durability, and provides an even base for the final coat. Choose a primer suitable for the material you are working with, whether it’s metal, wood, or another surface. Apply the primer in thin, even coats, allowing each layer to dry before adding another. Make sure to follow the manufacturer’s instructions for the best results.
6. Painting the Surface
Preparing the surface: Before painting, ensure that the surface is clean, dry, and free of any dust or debris. Use a clean cloth or tack cloth to wipe down the surface and remove any remaining particles. If necessary, apply a coat of primer to help the paint adhere better to the surface.
Choosing the right paint: Select a high-quality paint that is suitable for the material you are painting. Consider factors such as indoor or outdoor use, durability, and color options. Make sure to stir the paint thoroughly before application and use a paintbrush or roller that is appropriate for the surface you are painting.
Final Steps
Inspect the Surface: After the paint has dried completely, carefully inspect the surface for any imperfections or areas that may need touch-ups. Look for drips, uneven coverage, or any other blemishes that may affect the overall finish. Address any issues by lightly sanding and repainting those areas as needed.
Protect the Surface: Once you are satisfied with the paint job, consider applying a clear coat or sealant to protect the surface from future damage. This additional layer can help prolong the life of the paint job and provide extra durability against elements such as UV rays, moisture, and scratches. Follow the manufacturer’s instructions for the clear coat application and allow it to dry completely before handling the surface.