
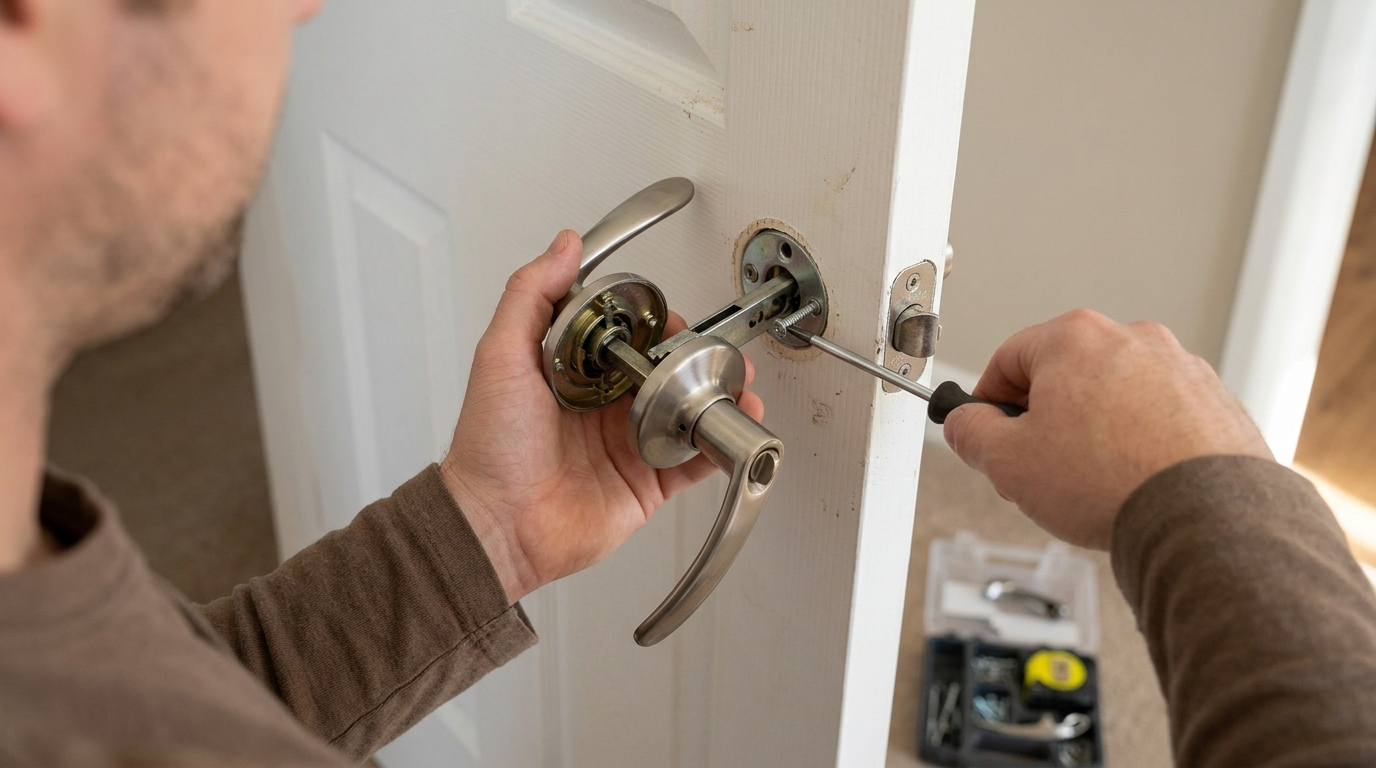
Discover the simple and effective steps to fix a broken door handle with ease. Say goodbye to the frustration of dealing with a malfunctioning door handle and learn how to quickly restore functionality to your door. Whether you’re a DIY enthusiast or a beginner, this guide will help you tackle this common household issue effortlessly.
Tools and Materials Needed
Tools: To replace a door handle, you will need a screwdriver (Phillips or flat-head, depending on the screw type), pliers, and possibly a drill if the new handle requires new holes.
Materials: Make sure you have the new door handle kit, including screws and any other necessary components. Additionally, have a measuring tape on hand to ensure proper alignment and fit.
3. Assessing the Damage
Assessing the damage is a crucial step before replacing a door handle. Begin by examining the current door handle to determine the extent of the damage. Look for signs of wear and tear, such as loose screws, rust, or physical damage. Check if the handle is still functioning properly or if it needs immediate replacement. Additionally, inspect the surrounding area to ensure that the damage is not extensive and limited only to the handle itself. This assessment will help you determine the best course of action to take when replacing the door handle.

4. Removing the Old Door Handle
Removing the old door handle is an essential step in replacing it with a new one. Start by locating the screws or fasteners that hold the handle in place. These are typically found on the interior side of the door. Use a screwdriver or Allen wrench, depending on the type of screws, to loosen and remove them. Once the screws are out, gently pull the two halves of the handle apart. Be cautious not to damage the door or surrounding area during this process.
After separating the handle, you may need to detach the latch mechanism from the door. This can usually be done by unscrewing a few additional screws and carefully pulling the latch out of the door. Take note of how the old handle was installed as this will help you when installing the new handle later on. Once the old handle is completely removed, you are ready to move on to installing the new door handle.
5. Installing the New Door Handle
Installing the new door handle is a straightforward process that can be completed with a few simple steps. Begin by unpacking the new door handle and ensuring that all the necessary components are included. Next, carefully read the manufacturer’s instructions to familiarize yourself with the installation process.
Using the appropriate tools, such as a screwdriver or drill, follow the step-by-step instructions provided to attach the new door handle securely to the door. Make sure to align the handle properly and tighten all screws to ensure a sturdy installation. Once the new door handle is in place, test it to ensure that it functions correctly, including turning the knob and locking mechanisms. With the new door handle successfully installed, your door will not only look refreshed but also operate smoothly and securely.
6. Testing the Repair
Testing the repair is a crucial step to ensure that the new door handle has been installed correctly and functions properly. To test the repair, start by checking if the door handle operates smoothly without any resistance. Turn the handle both clockwise and counterclockwise to verify that it functions correctly in both directions.
Next, test the locking mechanism of the door handle to ensure that it engages and disengages smoothly. Insert the key and turn it to lock and unlock the door, confirming that the locking mechanism is working properly. Additionally, check if the door latch aligns correctly with the strike plate on the door frame when the door is closed. This alignment is essential for the door to close securely and prevent any drafts or security issues.
Conclusion
After successfully installing the new door handle and testing its functionality, it is important to reflect on the repair process. It is satisfying to see a simple DIY project like this come together smoothly and enhance the functionality and aesthetics of your door. Remember, regular maintenance and repairs can prolong the lifespan of your door hardware and improve the overall security of your home.
Furthermore, by gaining confidence in your ability to handle minor repairs around the house, you not only save money but also develop valuable skills that can be applied to future projects. Take pride in your accomplishment and enjoy the improved functionality and appearance of your door with the newly installed handle.