

“Discover the step-by-step process of replacing a wheel bearing like a pro! Say goodbye to noisy, shaky rides and hello to smooth, safe travels. In this comprehensive guide, you will learn all you need to know to tackle this essential maintenance task with confidence and precision. Get ready to hit the road with confidence and peace of mind!”
Signs of a Bad Wheel Bearing
Recognizing the signs of a bad wheel bearing is crucial for maintaining the safety and performance of your vehicle. One common indicator is a grinding or grating noise coming from the wheel area, especially during turns or at varying speeds. This noise typically increases with vehicle speed and may change when shifting weight in the car. Additionally, if you notice excessive vibration or a feeling of looseness in the steering wheel, it could be a sign of a failing wheel bearing.
Another key symptom to watch out for is uneven tire wear. A bad wheel bearing can cause the tire to wear out unevenly and more rapidly than usual. This uneven wear pattern can be visible on the edges or in specific spots on the tire. If you experience any of these signs, it is advisable to have your wheel bearings inspected and replaced promptly to prevent further damage and ensure the safety of your vehicle.
3. Tools Needed for Wheel Bearing Replacement
Replacing a wheel bearing requires specific tools to ensure a successful and efficient process. Some essential tools for wheel bearing replacement include a jack and jack stands to lift and secure the vehicle, lug nut wrench to remove the lug nuts, a torque wrench to tighten the lug nuts properly, a socket set for various bolts and nuts, a hammer to help with stubborn parts, a breaker bar for extra leverage if needed, a bearing packer to ensure proper lubrication of the new bearing, and a bearing puller or press to remove and install the bearings.
Additionally, having a wheel chock to prevent the vehicle from rolling, a wire brush to clean surfaces, a flathead screwdriver for prying, and some penetrating oil to loosen rusty or stuck components can be beneficial. It is crucial to have all the necessary tools on hand before starting the wheel bearing replacement to avoid any delays or complications during the process.
Step-by-Step Guide to Replace a Wheel Bearing
Step 1: Lift the vehicle using a jack and secure it on jack stands. Make sure the car is on a level surface and the parking brake is engaged.
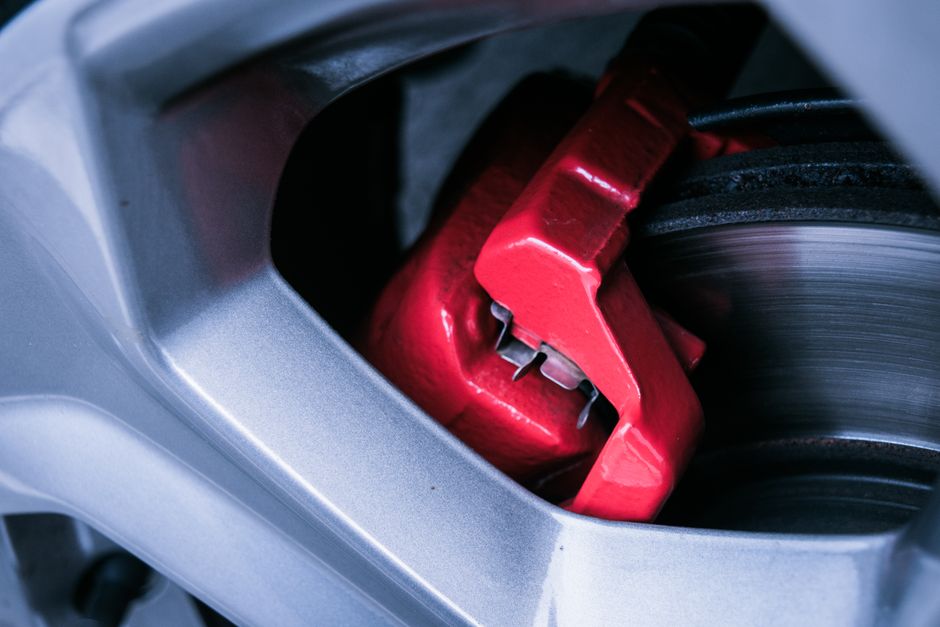
Step 2: Remove the wheel by loosening the lug nuts, then detach the brake caliper and rotor. This will give you access to the wheel hub assembly.
Step 3: Unbolt the wheel hub assembly from the steering knuckle. Use a hammer and a proper tool to gently tap the assembly out if it’s stuck.
Step 4: Press out the old wheel bearing from the hub. You may need a hydraulic press for this step. Clean the hub thoroughly before installing the new bearing.
Step 5: Press the new wheel bearing into the hub assembly. Make sure it is properly seated and secured.
Step 6: Reassemble the wheel hub assembly back onto the steering knuckle, then reinstall the brake rotor, caliper, and wheel.
Step 7: Lower the vehicle, tighten the lug nuts to the specified torque, and test drive to ensure the wheel bearing replacement was successful.
Tips for a Successful Wheel Bearing Replacement
1. Proper Inspection: Before starting the replacement process, thoroughly inspect the wheel bearings for any signs of damage or wear. Look out for noises, vibrations, or uneven tire wear that could indicate a faulty bearing.
2. Use High-Quality Parts: Invest in high-quality replacement wheel bearings to ensure longevity and performance. Cheaper alternatives may save money initially but could lead to premature failure and additional repairs down the line.
3. Follow Manufacturer Guidelines: Refer to the vehicle’s manual or specific guidelines for your make and model when replacing wheel bearings. Following the recommended procedures and torque specifications is crucial for a successful replacement.
4. Proper Torque: When installing the new wheel bearings, make sure to torque the axle nut and hub assembly to the manufacturer’s specifications. Over or under-tightening can lead to issues like wheel wobble or premature wear.
Common Mistakes to Avoid
Skipping Proper Inspection: One common mistake to avoid when replacing a wheel bearing is skipping the proper inspection of other related components. It’s crucial to inspect the hub, spindle, and surrounding parts for any damage or wear that could affect the performance of the new wheel bearing. Neglecting this step can lead to premature failure and costly repairs in the future.
Incorrect Torque Specifications: Another common mistake is not following the correct torque specifications when installing the wheel bearing. Using the wrong torque can result in uneven pressure distribution, leading to premature wear and potential safety hazards. Always refer to the manufacturer’s specifications and use a torque wrench to ensure the proper tightness of the components.
Conclusion
Replacing a wheel bearing is a crucial maintenance task that ensures the safety and performance of your vehicle. By following the step-by-step guide and using the necessary tools, you can successfully replace a wheel bearing and prevent potential issues such as noise, vibration, and poor handling.
Remember to pay attention to signs of a bad wheel bearing and address them promptly to avoid further damage to your vehicle. By avoiding common mistakes and following the tips provided, you can efficiently replace a wheel bearing and maintain your vehicle’s optimal functionality. Regular maintenance and timely replacements can extend the lifespan of your vehicle’s wheel bearings and keep you safe on the road.