
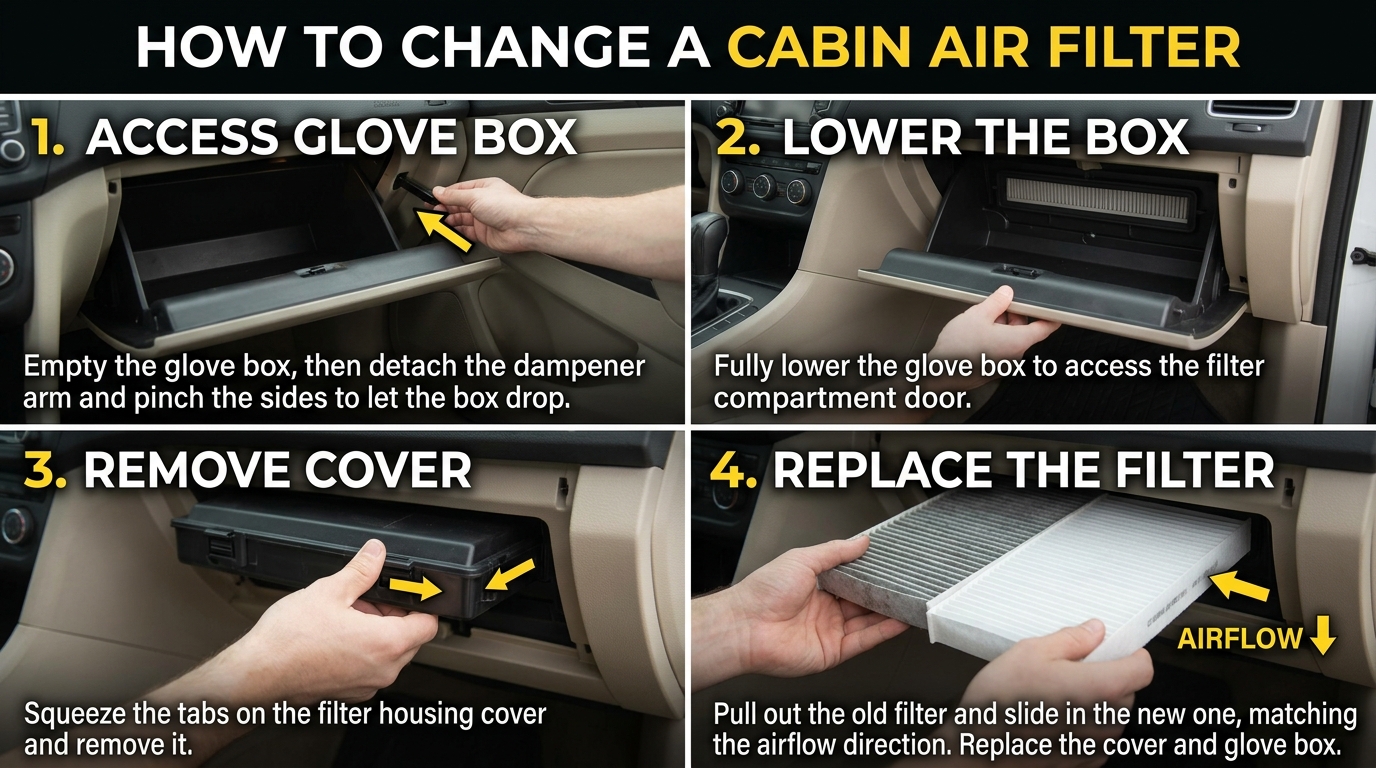
“Discover the key to breathing cleaner, fresher air in your vehicle. Changing a cabin air filter may seem like a small task, but the difference it can make to your driving experience is significant. In this guide, we will walk you through the simple steps to replace your cabin air filter and improve the air quality inside your car. Say goodbye to dust, pollen, and odors, and say hello to a more comfortable and enjoyable ride.”
Why Change a Cabin Air Filter
Improved Air Quality: One of the primary reasons to change a cabin air filter is to ensure improved air quality inside your vehicle. The cabin air filter helps trap dust, pollen, and other airborne particles, preventing them from entering the car’s cabin. By regularly replacing the filter, you can breathe cleaner air while driving, especially important for individuals with allergies or respiratory conditions.
Enhanced HVAC Performance: A clean cabin air filter allows your vehicle’s heating, ventilation, and air conditioning (HVAC) system to operate more efficiently. A clogged or dirty filter can restrict airflow, making it harder for the system to maintain the desired temperature inside the car. By replacing the filter as recommended by the manufacturer, you can ensure optimal HVAC performance and comfort for you and your passengers.
Tools Needed
Changing a cabin air filter requires a few essential tools to ensure a smooth and efficient process. Here are the tools you will need:
1. Screwdriver: A screwdriver will be necessary to remove any screws or fasteners holding the cabin air filter housing in place. Make sure to use the appropriate type and size of screwdriver for your specific vehicle.
2. New Cabin Air Filter: Before starting the replacement process, make sure to have a new cabin air filter on hand. Ensure that the new filter is compatible with your vehicle’s make and model to guarantee proper fit and filtration.
3. Owner’s Manual: It is always a good idea to have the owner’s manual of your vehicle on hand. The manual may contain specific instructions on how to access and replace the cabin air filter, making the process easier and more efficient.
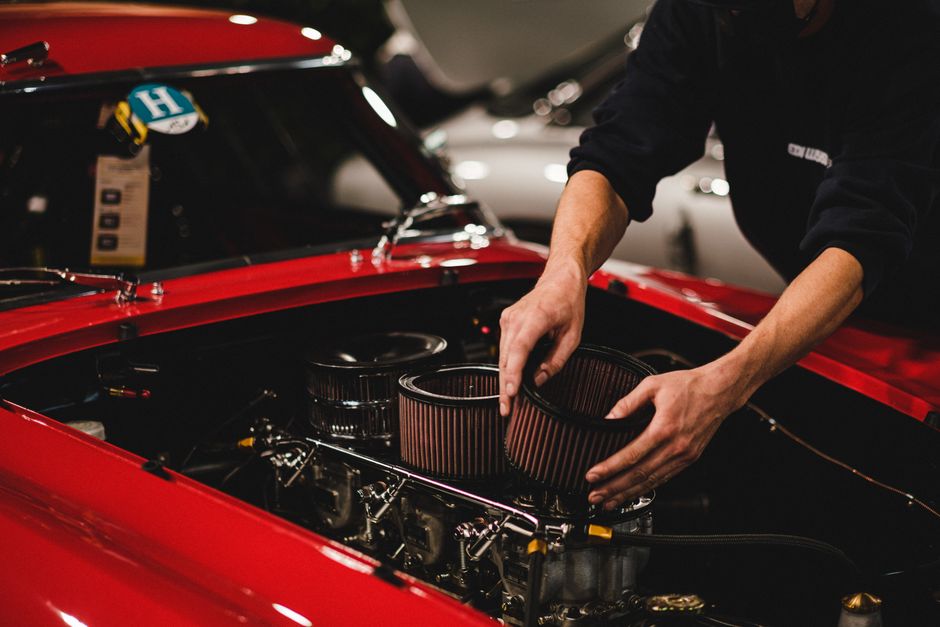
Step-by-Step Guide
Step 1: Locate the cabin air filter housing. This is usually located behind the glove compartment, under the dashboard, or under the hood near the windshield.
Step 2: Remove the fasteners or screws holding the cabin air filter housing in place. Use the appropriate tools such as a screwdriver or socket wrench.
Step 3: Take out the old cabin air filter from the housing. Pay attention to the airflow direction indicated on the filter, ensuring you install the new filter correctly.
Step 4: Insert the new cabin air filter into the housing, making sure it is properly seated and secured. Double-check the airflow direction to ensure optimal performance.
Step 5: Reattach the fasteners or screws to secure the cabin air filter housing back in place. Ensure everything is tightly secured to prevent any air leaks.
Step 6: Close the glove compartment or hood, depending on where the housing is located. Start the vehicle and test the new cabin air filter for improved air quality and airflow.
Common Mistakes to Avoid
Ignoring Regular Replacement: One of the most common mistakes people make is neglecting to replace the cabin air filter at regular intervals. Over time, the filter becomes clogged with dirt, dust, and debris, reducing its effectiveness and potentially causing unpleasant odors in the vehicle. It is essential to follow the manufacturer’s recommendations for replacement to ensure optimal air quality inside the cabin.
Using the Wrong Filter: Another common error is using the wrong type of cabin air filter. Each vehicle requires a specific filter size and type to fit correctly and function properly. Using the wrong filter can lead to poor air circulation, reduced filtration efficiency, and potential damage to the HVAC system. Always check your vehicle’s manual or consult with a professional to ensure you are using the correct filter for your car.
Benefits of Changing Cabin Air Filter
Improved air quality: One of the primary benefits of changing your cabin air filter is the significant improvement in the air quality inside your vehicle. A clean filter helps trap dust, pollen, pollutants, and other airborne particles, preventing them from entering the cabin. This can be especially beneficial for individuals with allergies or respiratory issues, as it can reduce their exposure to potential irritants.
Enhanced HVAC system performance: A clean cabin air filter allows your vehicle’s heating, ventilation, and air conditioning (HVAC) system to operate more efficiently. When the filter is clogged or dirty, it can restrict airflow, causing the system to work harder to maintain the desired temperature. By regularly changing the cabin air filter, you can ensure proper airflow, which can lead to better overall performance of your HVAC system and improved comfort for you and your passengers.
Conclusion
Changing your cabin air filter regularly is a simple yet crucial maintenance task that can greatly benefit your vehicle’s performance and your health. By replacing the cabin air filter as recommended by your vehicle’s manufacturer, you can ensure that the air circulating inside your car is clean and free from pollutants, dust, pollen, and other contaminants. This not only improves the air quality inside the vehicle but also enhances the efficiency of your heating and cooling systems.
Moreover, a clean cabin air filter can prevent musty odors from developing in your car and can help reduce strain on your HVAC system, potentially prolonging its lifespan. Remembering to change your cabin air filter at regular intervals can contribute to a more pleasant driving experience for you and your passengers while also safeguarding your vehicle’s interior components. Make it a part of your routine maintenance schedule to enjoy the benefits of fresh, clean air every time you hit the road.