
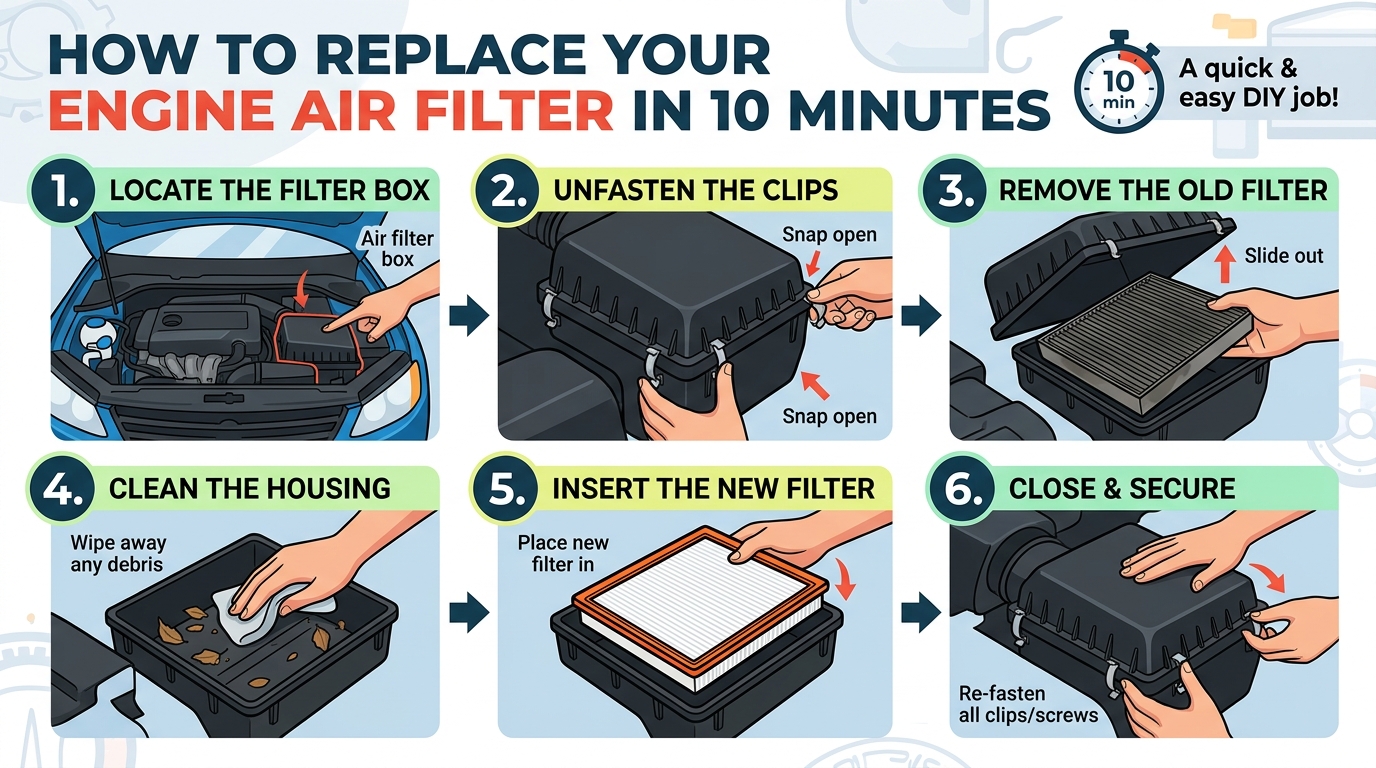
Learn the simple steps to quickly and easily replace your engine air filter in just 10 minutes. Say goodbye to costly trips to the mechanic and empower yourself with the knowledge and skills to keep your car running smoothly. With this straightforward guide, you’ll be amazed at how effortless it is to maintain your vehicle and ensure optimal performance.
Tools and materials needed
Replacing your air filter is a straightforward task that requires minimal tools and materials. To complete this task, you will need the following:
– New air filter: Make sure to purchase the correct air filter for your specific make and model of the vehicle. Check your vehicle’s manual for the correct part number.
– Screwdriver: A screwdriver may be needed to remove screws or clips holding the air filter housing in place.
– Cleaning cloth: It’s a good idea to have a cleaning cloth on hand to wipe down any dust or debris in the air filter housing.
– Vacuum (optional): A vacuum can be used to clean out any excess debris in the air filter housing before installing the new air filter.
– Gloves (optional): Gloves can help keep your hands clean during the replacement process.
3. Locate the air filter
Locating the air filter in your vehicle is the first step to replacing it. The air filter is typically housed in a rectangular or round plastic casing under the hood of your car. It may be located near the engine or along the vehicle’s fender. If you’re having trouble finding it, refer to your vehicle’s manual for specific instructions and diagrams.
Once you have located the air filter housing, you may need to remove any clips, screws, or latches holding it in place. Carefully open the housing to reveal the air filter inside. Take note of how the old air filter is positioned so that you can install the new one correctly.
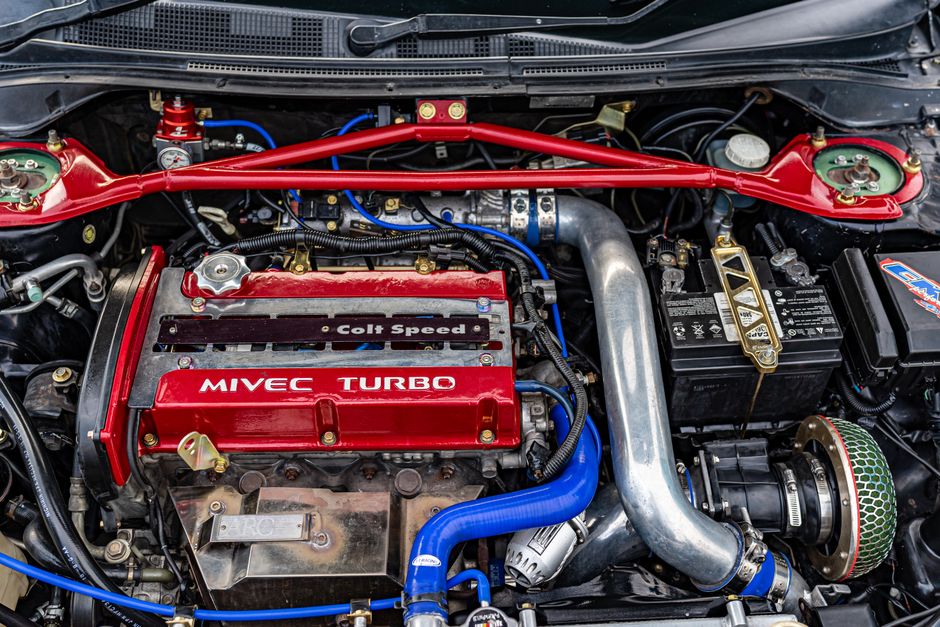
4. Remove the old air filter
Step 1: Begin by locating the air filter housing in your vehicle. This can usually be found under the hood, near the engine. The housing is typically a rectangular or circular plastic box with clips or screws holding it together.
Step 2: Carefully open the air filter housing by removing the clips or screws. Take note of how the old air filter is positioned inside the housing so that you can properly install the new one.
Step 3: Gently remove the old air filter from the housing. Inspect the filter for any signs of dirt, debris, or damage. If the filter is dirty or clogged, it is definitely time for a replacement.
5. Install the new air filter
Installing a new air filter is a straightforward process that can greatly improve the performance and efficiency of your HVAC system. Begin by carefully removing the new air filter from its packaging, taking care not to damage or bend the filter material. Before inserting the new filter, make sure to check the direction of airflow indicated on the filter frame. This step is crucial for the filter to function properly and avoid any issues with air circulation.
Once you have confirmed the correct orientation, slide the new air filter into the designated slot in the air filter housing. Ensure that the filter fits securely and snugly in place to prevent any air leaks or bypass. Finally, double-check that the filter is positioned correctly and that there are no gaps around the edges. Proper installation of the new air filter is essential for maintaining good indoor air quality and maximizing the efficiency of your heating and cooling system.
6. Reassemble the air filter housing
After successfully installing the new air filter, it is time to reassemble the air filter housing. Carefully place the housing cover back in its original position, ensuring that it aligns properly with the housing base. Make sure that any clips or screws used to secure the housing are tightly fastened to prevent any air leaks.
Double-check that all components of the air filter housing are properly reconnected and secured. Once everything is in place, gently press down on the housing cover to ensure a tight seal. This step is crucial to maintain proper airflow and ensure that the air filter functions efficiently. Finally, start the vehicle and let it run for a few minutes to confirm that everything is working as it should.
Final Checks and Testing
Final checks and testing are crucial to ensure that the air filter replacement was successful and that the vehicle is running smoothly. After reassembling the air filter housing, start the engine and let it run for a few minutes. Listen for any unusual noises and check for any signs of air leaks around the housing.
Next, take the vehicle for a test drive to ensure that it accelerates smoothly and that there are no strange vibrations or engine hesitation. Pay attention to the engine performance and fuel efficiency. If everything seems normal, you have successfully completed the air filter replacement process. However, if you notice any issues during the final checks and testing, you may need to retrace your steps and ensure that the air filter was installed correctly.