
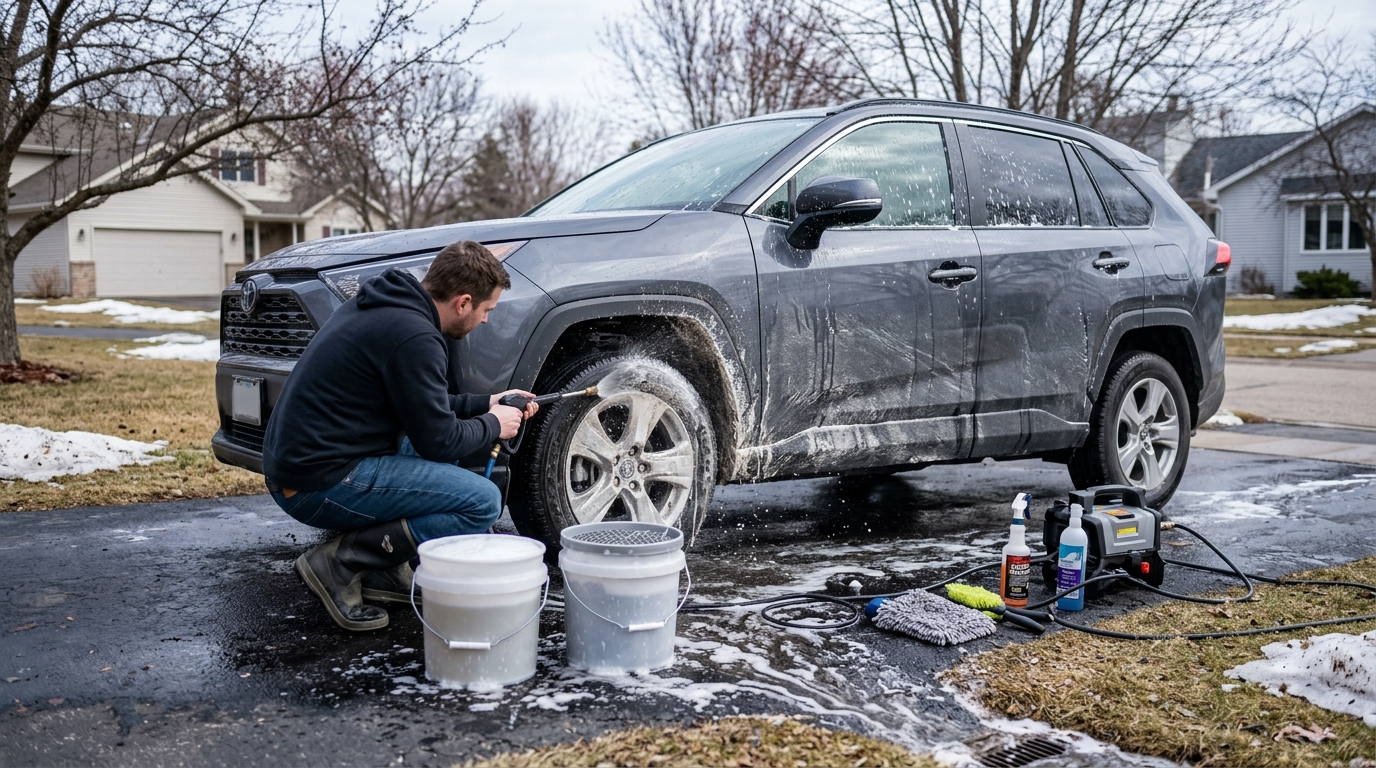
As the winter season comes to an end, it’s time to give your car the attention it deserves after enduring harsh weather conditions. Detailing your car after winter is not only about restoring its shine and cleanliness, but also about protecting its exterior and interior surfaces. From removing salt stains to polishing the paint, this comprehensive guide will provide you with all the tips and tricks you need to make your car look brand new again.
2. Necessary Tools and Supplies
Detailing your car after winter requires specific tools and supplies to ensure a thorough and effective cleaning process. Here are some essential items you will need:
1. Microfiber cloths: These are gentle on your car’s surface and help prevent scratches during cleaning.
2. Car wash soap: Use a pH-balanced soap designed for cars to avoid damaging the paint.
3. Bucket: A large bucket will be useful for mixing soap and water for washing.
4. Soft bristle brush: For cleaning wheels and tires without causing scratches.
5. Wheel cleaner: Choose a cleaner specifically formulated for your wheel type to remove brake dust and grime effectively.
6. Clay bar: Ideal for removing embedded contaminants on the paint surface for a smooth finish.
7. Polish and wax: To restore shine and provide a protective layer to your car’s paint.
8. Vacuum cleaner: Essential for cleaning the interior and removing dirt and debris from carpets and seats.
9. Leather cleaner and conditioner: For maintaining and preserving leather seats in your vehicle.
Step-by-Step Guide to Washing Your Car
Step 1: Gather Your Supplies
Before starting, make sure you have all the necessary supplies on hand. This includes car wash soap, a bucket, microfiber cloths, a hose, and a soft brush or sponge for scrubbing.
Step 2: Rinse Your Car
Begin by rinsing your car thoroughly with water to remove any loose dirt or debris. Make sure to pay special attention to the undercarriage and wheel wells where salt and grime tend to accumulate.
Step 3: Wash Your Car
Next, mix the car wash soap with water in the bucket according to the instructions on the bottle. Use the soapy water and sponge or brush to gently wash the exterior of your car, working from the top down to prevent streaks.
Step 4: Rinse and Dry
After washing, rinse off all the soap thoroughly with clean water. Use a microfiber cloth to dry your car to prevent water spots from forming. Pay attention to detail, ensuring all areas are dried properly.

Removing Salt Stains from Upholstery
Salt stains on upholstery can be unsightly and damaging if not addressed promptly. The first step in removing salt stains is to vacuum the affected area to remove any loose debris. Next, create a solution of vinegar and water in equal parts and gently dab it onto the stain with a clean cloth. Allow the solution to sit for a few minutes to break down the salt residue.
After letting the solution work its magic, blot the area with a clean, damp cloth to lift the stain. Repeat this process as needed until the salt stain is completely removed. Finally, dry the upholstery thoroughly to prevent any water damage. Regularly cleaning salt stains from upholstery not only improves the appearance of your car’s interior but also helps preserve the fabric’s longevity.
5. Polishing and Waxing for Protection
Polishing and waxing your car is essential for protecting its paint and keeping it looking shiny and new. Polishing helps remove minor imperfections and swirl marks from the paint surface, restoring a smooth finish. It also enhances the color and depth of the paint, giving your car a showroom-worthy shine. Waxing, on the other hand, provides a protective layer that shields the paint from environmental contaminants such as UV rays, bird droppings, and tree sap.
When polishing your car, use a quality polish and a suitable applicator pad or buffer to evenly distribute the product. Work in small sections, applying moderate pressure in a circular motion. After polishing, apply a coat of wax using a clean microfiber cloth, following the manufacturer’s instructions. Regular polishing and waxing not only protect your car’s paint but also make it easier to clean and maintain in the long run.
Cleaning and Treating Leather Seats
Leather seats in a car add a touch of luxury and sophistication, but they require special care to maintain their appearance and longevity. Regular cleaning and treating of leather seats are essential to prevent drying, cracking, and fading. To clean leather seats, start by vacuuming any dust, dirt, or debris using a soft brush attachment. Then, wipe the seats with a damp cloth or leather cleaner to remove surface grime. Avoid using harsh chemicals or abrasive materials that can damage the leather.
After cleaning, it’s crucial to treat the leather seats with a conditioner to keep them soft and supple. Leather conditioners help restore moisture and protect the leather from drying out. Apply the conditioner following the manufacturer’s instructions, making sure to cover the entire surface evenly. Regular maintenance of leather seats will not only preserve their appearance but also enhance the overall comfort and value of your car.
Maintenance Tips for Keeping Your Car Clean
Regular Cleaning: One of the most important maintenance tips for keeping your car clean is to establish a regular cleaning schedule. This includes washing the exterior, vacuuming the interior, and wiping down surfaces to prevent dirt and grime buildup. By staying on top of cleaning tasks, you can maintain the appearance of your car and prevent long-term damage from contaminants.
Use Protective Products: To help keep your car looking its best, consider using protective products such as wax, sealants, and interior protectants. These products can help repel dirt, water, and UV rays, prolonging the life of your car’s paint and interior surfaces. Regular application of these products can make cleaning easier and maintain the overall condition of your vehicle.